Macro feature automates the creation and editing of cross-sections, which significantly speeds up the designing process. Furthermore, you can create a library of typical cross-sections, according to your country design guidelines, and use them in any of your projects. You can even share the library with your team members.
Work with Macro commands
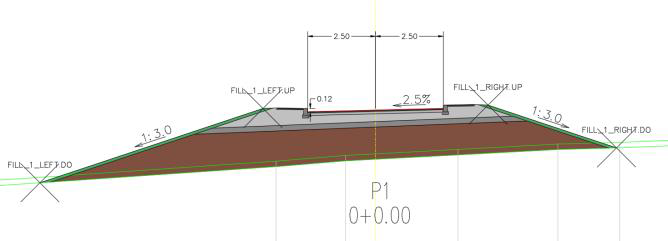
If you want to run the macro command, you must first prepare one cross-section. Equip this cross-section with TCS elements, blocks, planimetry quantities and labeling.
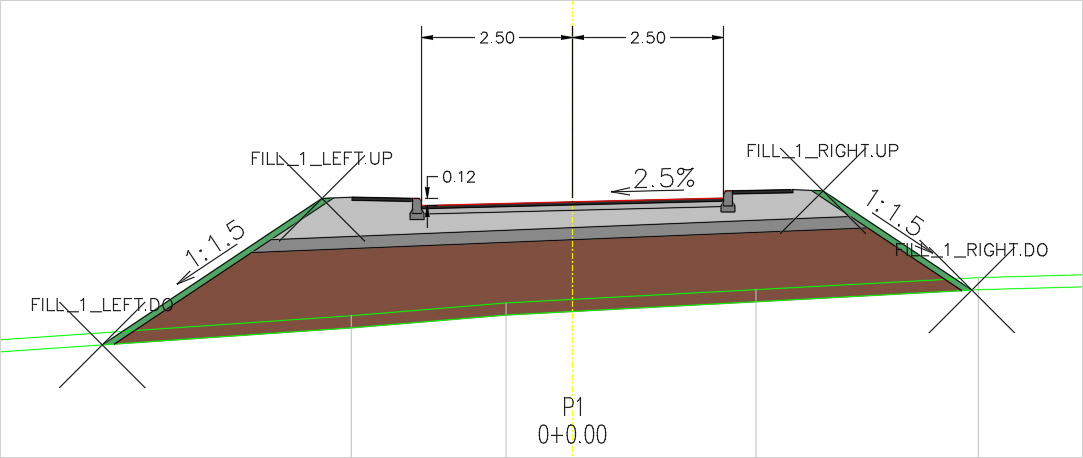
An example of a prepared cross-section
Then run the »Save Macro« command and save this cross-section in a new or in an existing library.
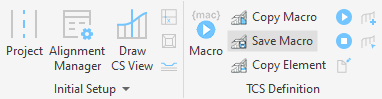
Save Macro
1. Run Save Macro (41H5).
2. In the drawing, click on the cross-section you prepared earlier.
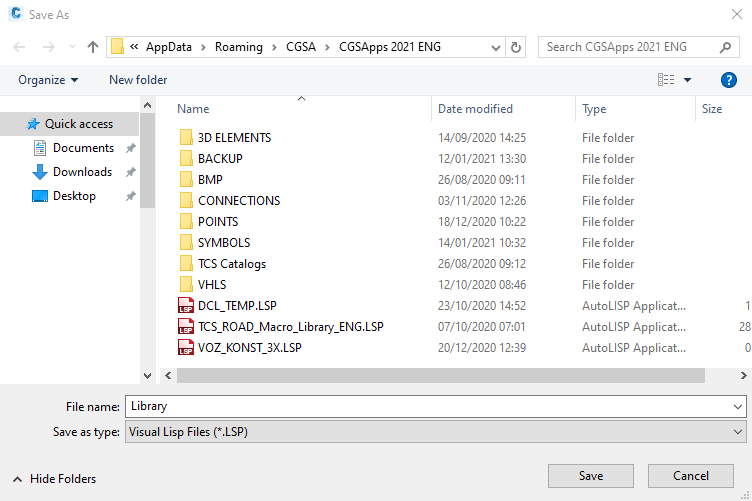
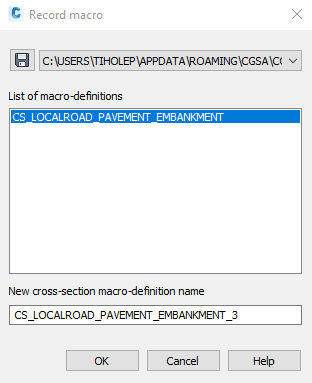
3. In the Record macro dialog click the  button and select an existing LPS file or define a new one.
The list of macro-definitions includes a list of all macros that are recorded in the LSP file.
4. Type the name of the current macro in the »New cross-section macro – definition name« edit field.
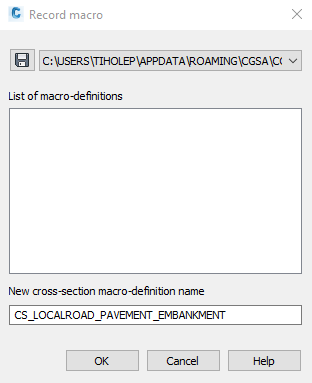
5. Confirm by pressing the OK button.
Then click the »Macro« icon and select the cross-section, into which the elements defined in the selected macro should be drawn.
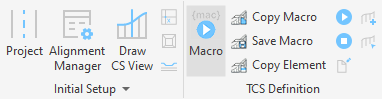
Run Macro
1. Run Macro (51H3).

2. Select the area where the macro should run. In this case, from the second to the last cross-section.
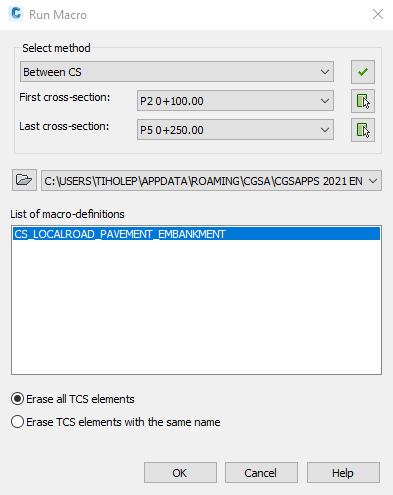
3. Confirm by pressing OK.


Recreate Macro into the new one
In this case, we are going to change the slope of the embankments. After that, we are going to save it as a new macro in the LSP file.
1. Run the Edit (41I8) command and select the embankment.
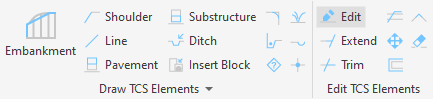
2. Change the slope of the embankment. In our case, we changed from 1:1.5 to 1:3.0.
3. Do the same with the embankment on the other side.
4. Run Save Macro (41H5).
5. In the drawing, select the cross-section you edited.
6. Save a new macro with a different name than before.
7. Confirm by pressing the OK button.
To test this command, you can also use pre-defined macros that are already included in the software.
Pre-prepared Macros
The Plateia software also offers a library of pre-defined macros. With the help of these macros, the user can quickly draw cross-sections. In addition, you can also modify, save and reuse these macros.
If you followed this tutorial you must first delete all existing TCS elements with the Erase Elements (41I6) command.
1. Run the Macro command.
2. Click on the tick button to select all the cross-sections.
3. Press on the folder button to find pre-prepared macros. They are saved in the following folder:
C:\Users\%USERNAME%\AppData\Roaming\CGSA\CGSApps202X%lang%
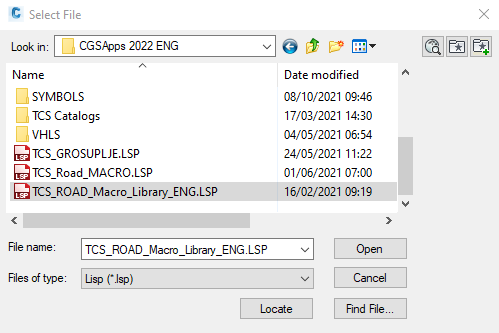
4. Select pre-prepared macro.
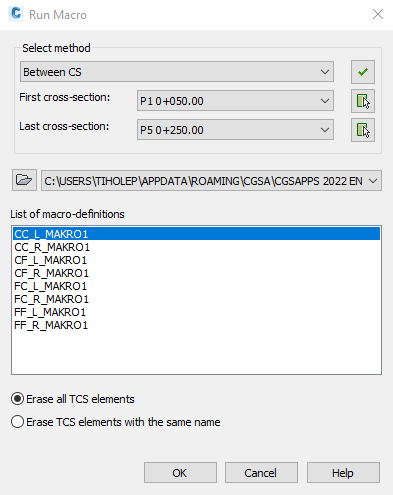
5. Confirm by pressing OK.
